When you're building or updating a panel, the first practical question is where to put all the pieces. A DIN rail gives relays, contactors, breakers, and terminal blocks a common mounting line, so wiring stays organized and maintenance is easier. The 2 Piece DIN Rail Slotted for Hardware Components Mounting is a straightforward kit aimed at exactly that job. Here's a closer look at what it offers and who should consider it.
Quick verdict
At USD 11.95, this set gives you two rails for modular electrical parts, and the design allows items to snap or slide into place. It suits small panel builds and terminal boxes where a clean layout is the main goal.
Who it suits
Anyone working on a distribution box, control cabinet, or complete set of equipment with electrical devices. If you're adding a row or need to organize multiple devices, this rail gives each one a fixed place to mount.
What stands out
The profile is meant to accept parts without extra mounting work. Intended uses include terminal boxes, distribution boxes, control cabinets, switchgear, and complete sets of equipment, with parts snapping or sliding into place to save assembly time.
2 Piece DIN Rail Slotted for Hardware Components Mounting, Aluminum Din Rails
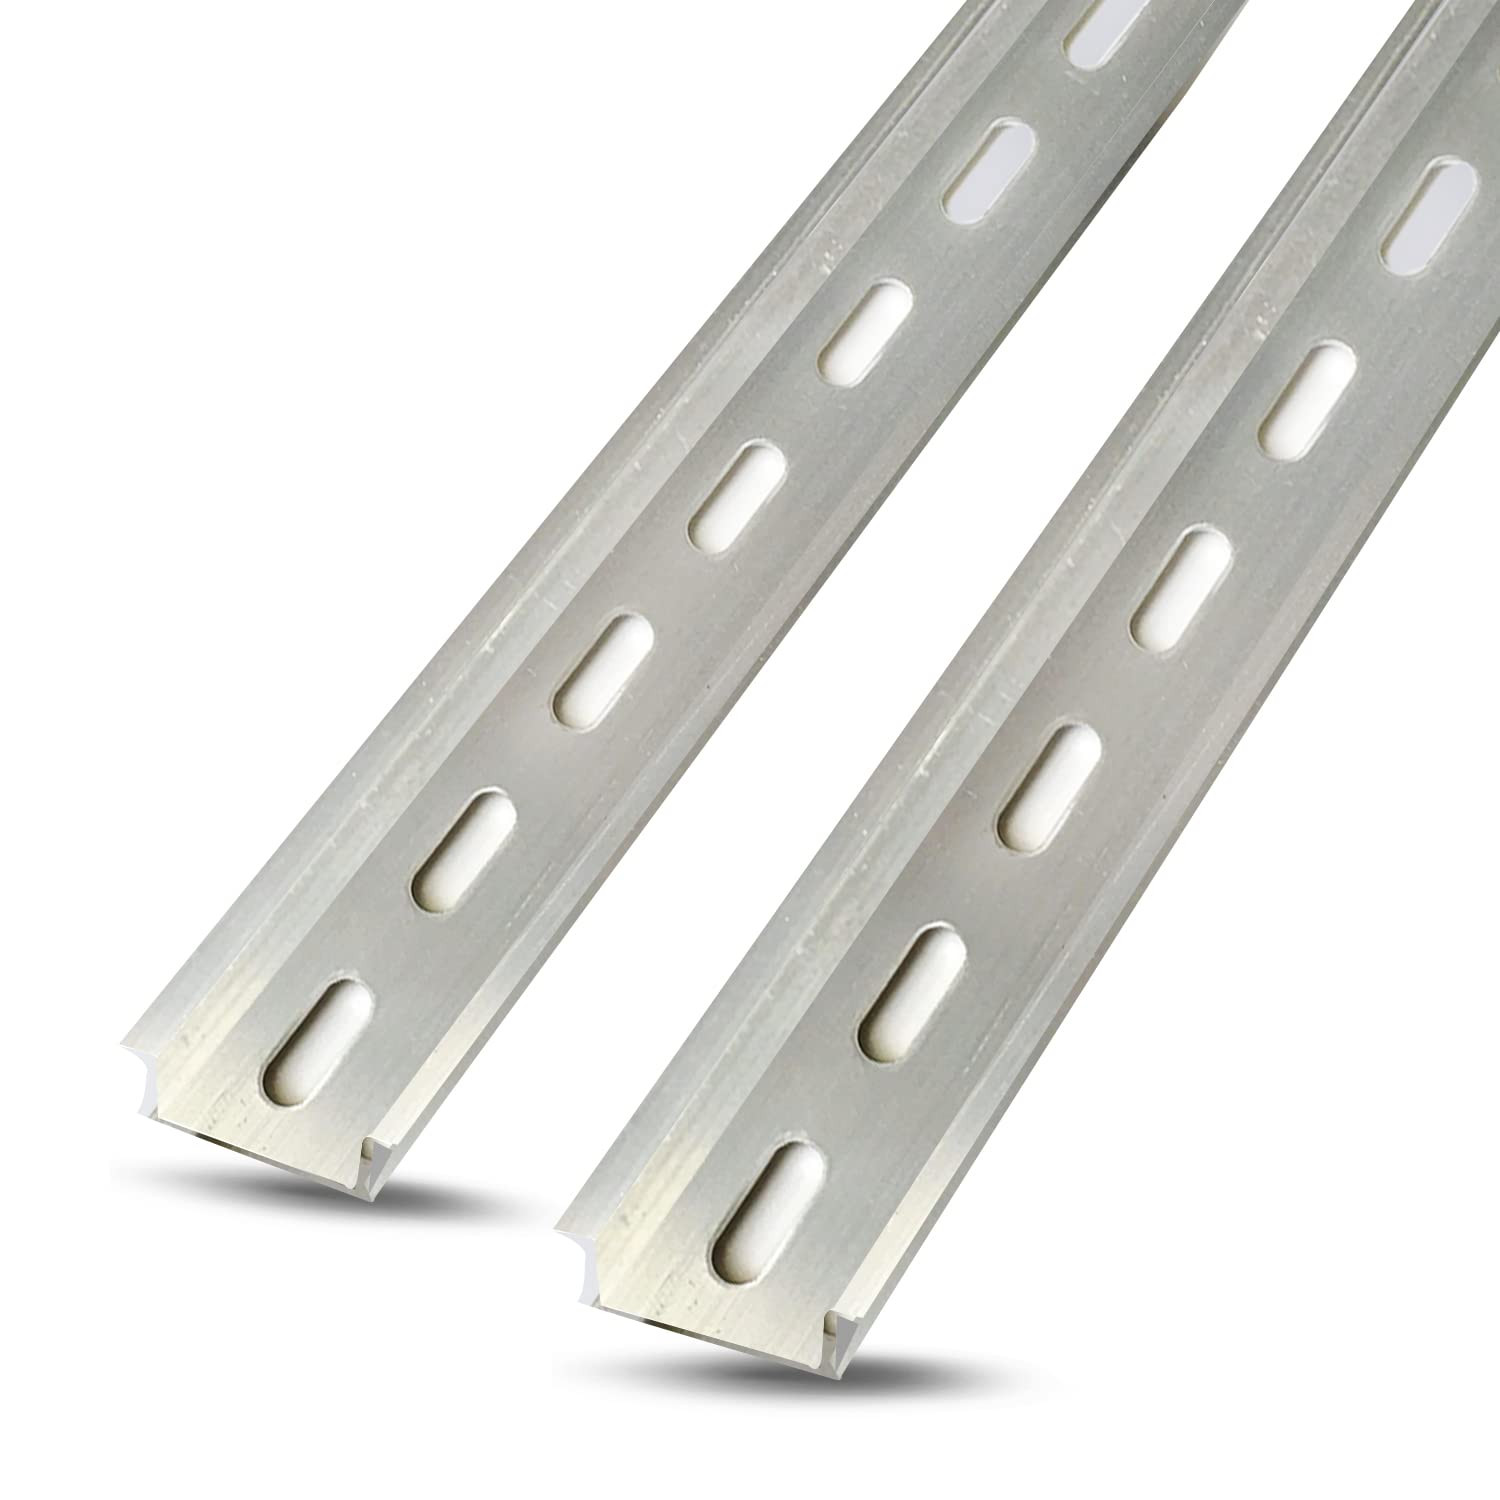
This set gives you two aluminum rails, which is useful if you want a backup or need a second mounting row in the same enclosure. The slotted profile accepts hardware, so you can arrange relays, contactors, breakers, and similar equipment in a line. The trade-off is that the kit is specifically the two rails; your enclosure and the items that attach to them are up to you.
Meaningful trade-offs
The pack format means you'll plan around the pieces included rather than a continuous custom rail. Consider how many rows your project needs; a large switchgear assembly may require more than one set or a different rail profile.
Bottom line
Choose this rail set if you need a straightforward rail for organizing hardware in a control panel setup. It's especially practical when you want a neat, organized layout and value having a spare rail on hand. Pair it with your own enclosure and devices, and make sure the rail fits your planned layout before you start installing.